
Before your first campaign tour in STAR WARS: Galactic Racer™, you choose a vehicle and a route through events. The most useful Star Wars Galactic Racer tips are to complete every startup sequence, reserve 2,000 credits for repairs when you reach a new planet, and prioritize surviving over forcing a win. Start with a landspeeder for a forgiving ride, then pair speed upgrades with cornering so you can actually keep that speed through bends.
Which vehicle should you pick first?
Landspeeder: recommended for your first tour
You get a durable vehicle that drifts readily and balances speed with resilience. That gives you room to learn the track without every scrape becoming a disaster. In the campaign's starting vehicle selection, choose the landspeeder; check that this is the class selected before committing.
Speeder bike: agile, but fragile
You trade resilience for agility. Its Kinetic Burst stores braking energy into a corner and releases it as acceleration. Pick it if you want to practice that rhythm, but expect less room for mistakes when you hit something.
Skim speeder: learn Knife Edge
You get a vehicle between the other two classes, with Knife Edge for threading corners and narrow passages. It asks more of your control, so save it for when you want to learn that ability deliberately.
Campaign podracing appears in special events. If that's what you want to practice immediately, Arcade lets you jump straight into it. Our Star Wars Galactic Racer vehicle types comparison covers the class differences in more detail.
How do you prepare a race and get a good start?
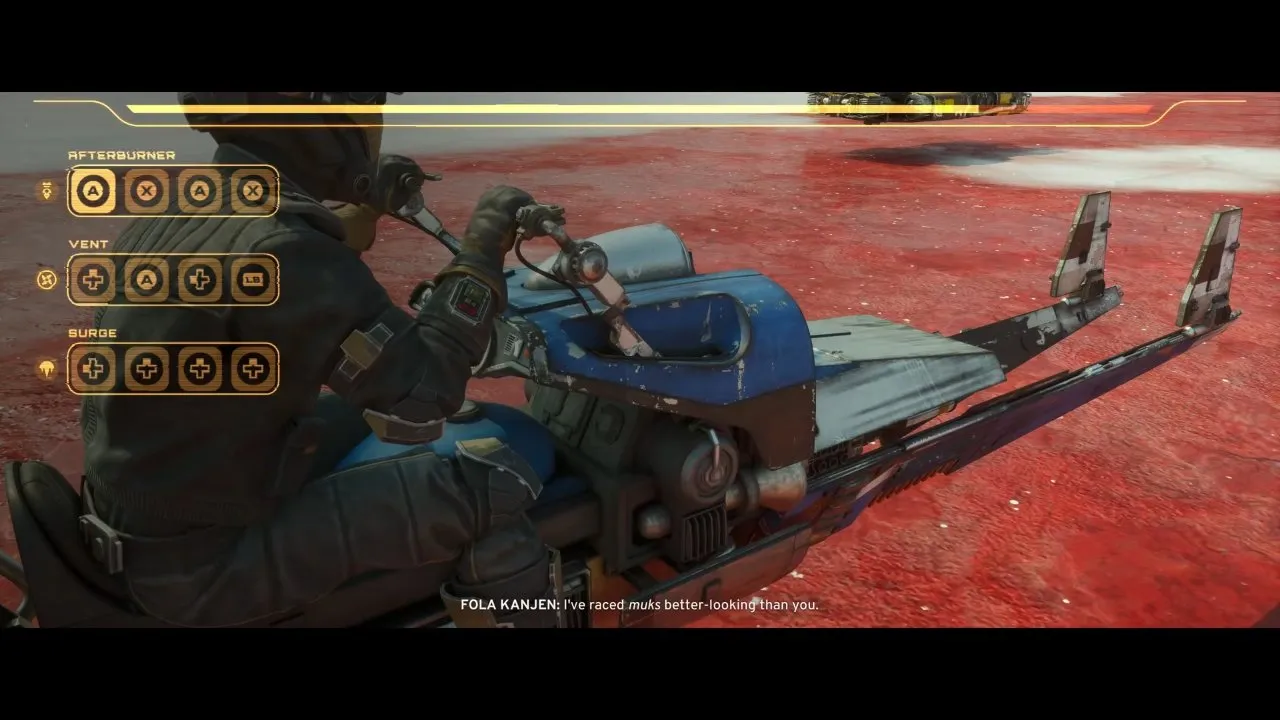
The startup interface looks like a little button minigame. Read it as preparation for your equipment: each sequence names the ability or item it readies.
- Complete the displayed button combinations before racing.
- Check the Afterburner at the start: successful preparation leaves it fully filled. Skipping its sequence leaves you with no initial Afterburner.
- Separately, time your throttle for a Perfect start. When the race begins, it needs to sit inside the meter's middle section.
Try accelerating immediately after the third light, then adjust on your next race. That's a starting point for practice, not a universal timing rule: different vehicles need different timing. Watch the throttle meter rather than blindly repeating the same input. Missing a Perfect start gives up a small boost; it isn't a reason to throw away the race.
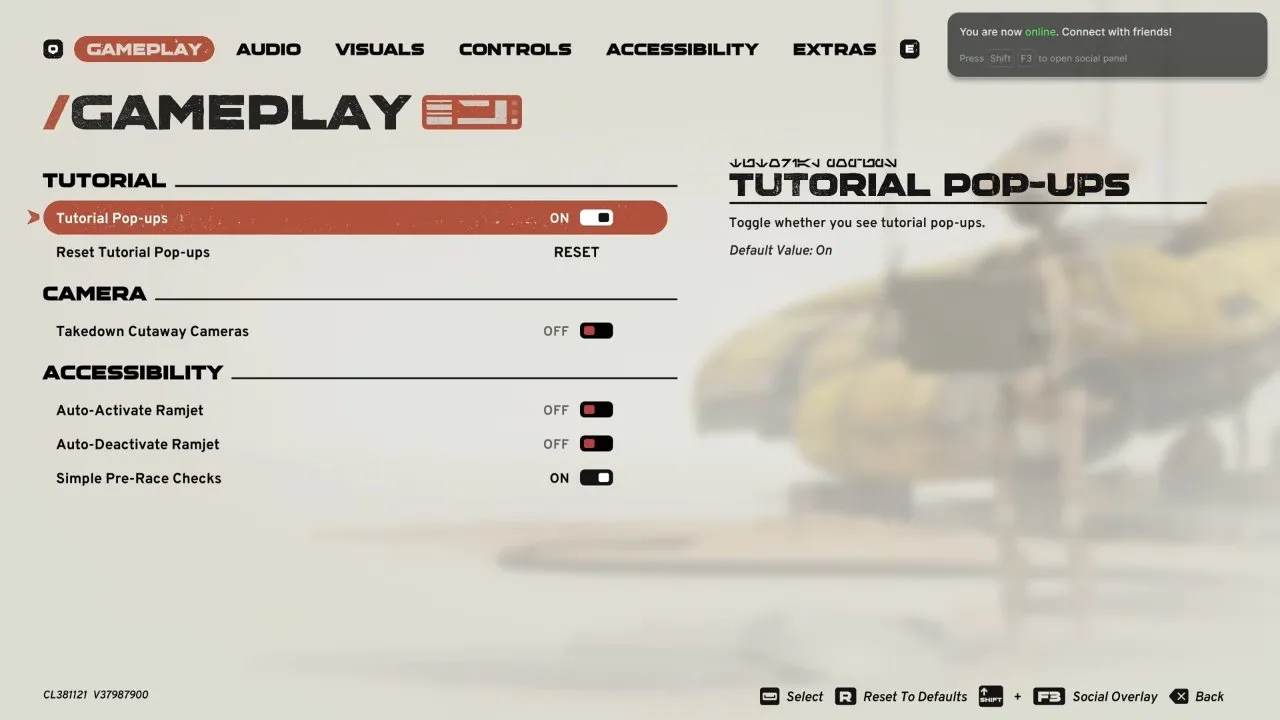
Simplified startup: recommended if sequences interrupt your flow
Use the setting that makes the startup sequence easier. You still want the equipment prepared, so check for the filled Afterburner when racing begins. The exact setting name and full menu path still need confirmation.
Regular startup: keep it if you enjoy the inputs
You can stay with the regular button sequences. The goal is the same: complete them consistently, rather than skip preparation because it looks cosmetic.
When should you repair and spend credits?
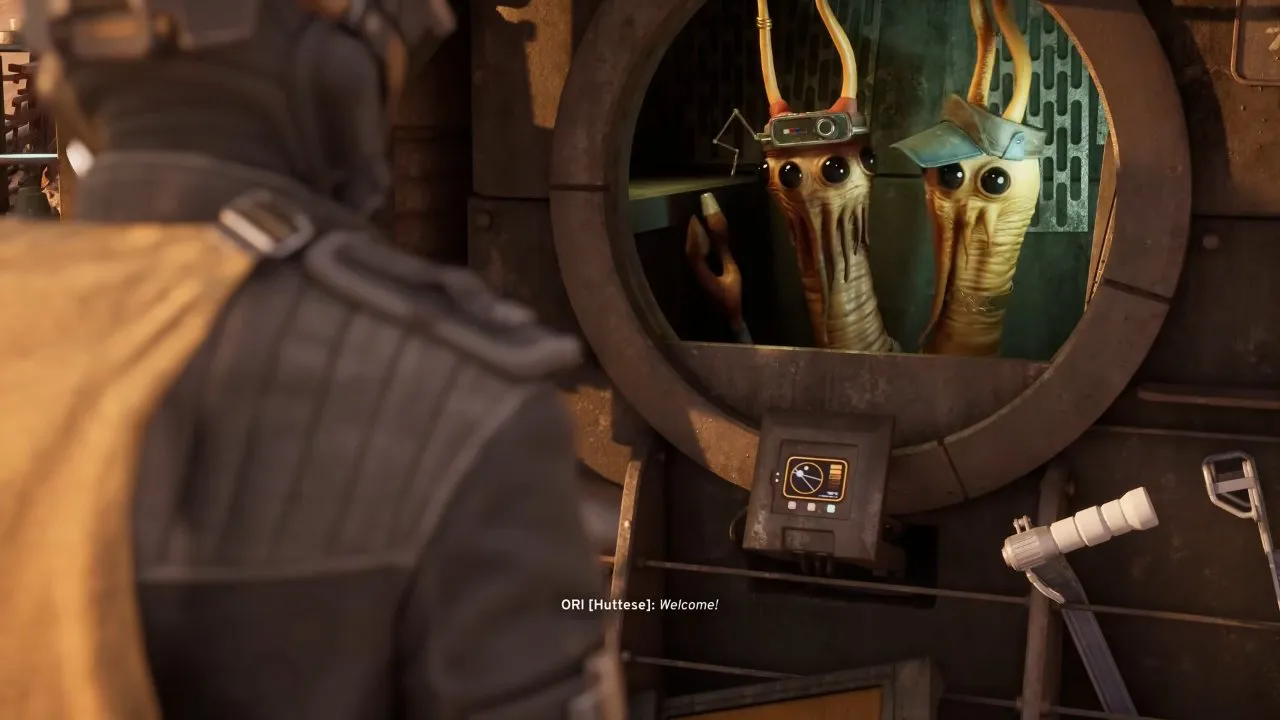
Repair damaged parts in the Paddock as soon as you arrive on a new planet, before buying upgrades. The repair costs 2,000 credits. Once you've raced there, you must wait until the next planet for another repair opportunity.
Visit the repair vendor while you're still in the paddock, complete the repair, and check your parts' condition before starting an event. Don't assume you'll get another chance after one more race. Hibi's workshop is also where you fit parts you've earned or bought.
For sidebets, look at the predicted opponent placing and stake before choosing. There are three offers, ranging from a back-of-pack opponent to one predicted to finish first or second. A player recommends the middle offer once you're placing consistently; on an unfamiliar track, don't spend your repair money chasing the biggest payout. The bet only pays off if you meet its condition.
A player also recommends keeping 4,000 credits before a Mystery Encounter. Treat that as a reserve, not insurance: nobody has confirmed that this amount prevents every possible negative outcome.
What should your early upgrades do?
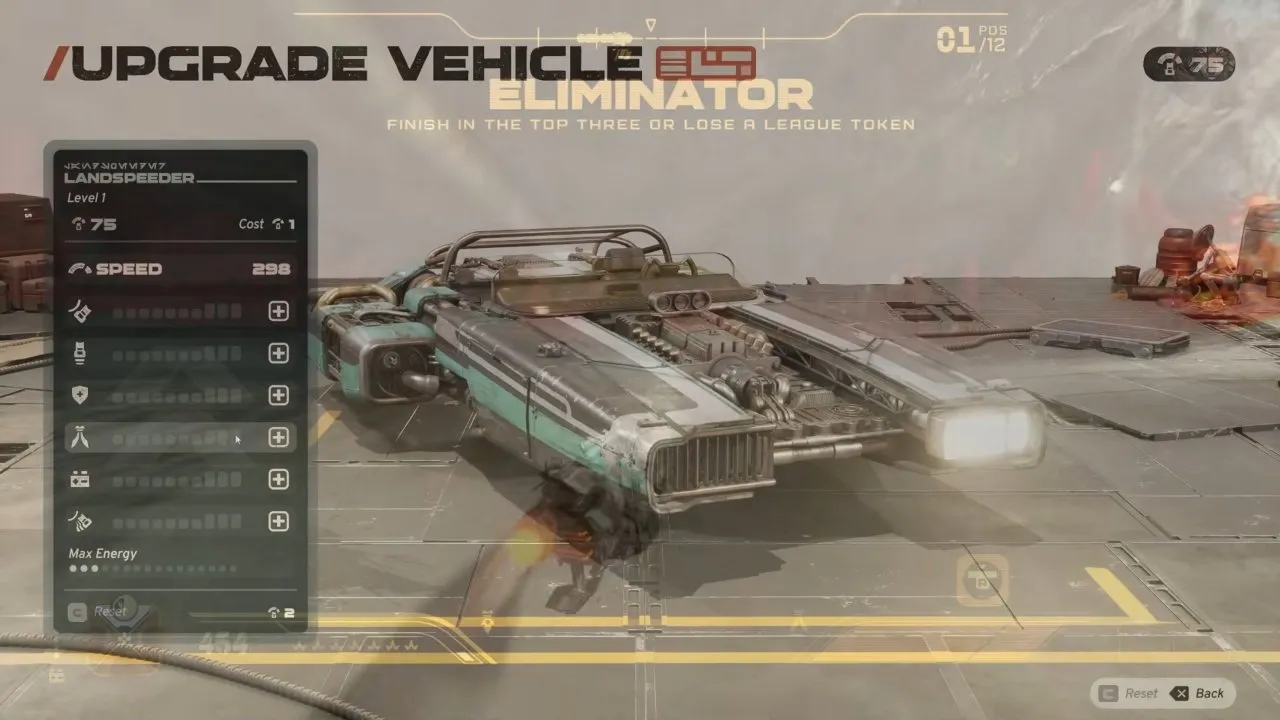
For an early speed build, prioritize Ramjet power and duration. Choose parts and abilities that support it instead of scattering upgrades across unrelated goals. Vent is one supporting ability used in a player's speed build.
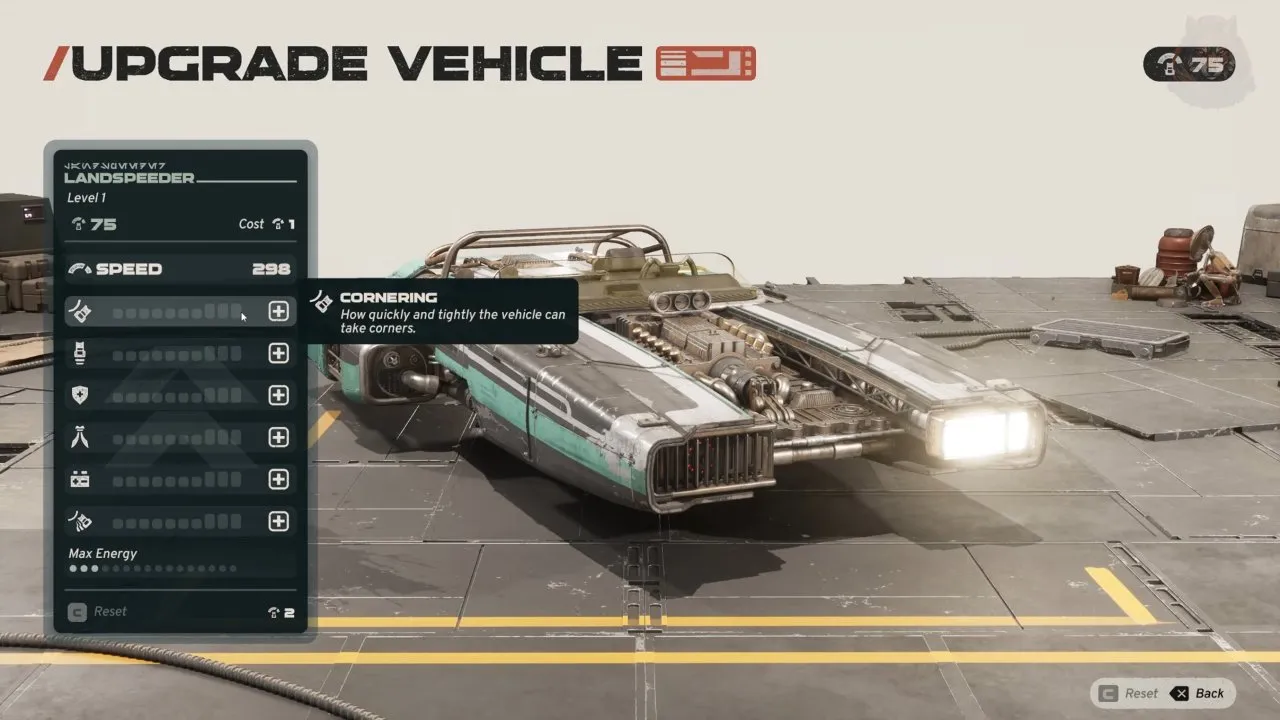
Pair that speed with Cornering. More boost is little help if you keep reaching a wall faster. Use Afterburner to bridge the time while Ramjet recharges, then check your next race for the useful result: you can carry speed through bends without repeated high-speed collisions. Holding a drift as long as possible can slow you down, so practice when to release it.
Survivor: a straightforward starting style
Survivor is unlocked by default and focuses on keeping you alive. Use it while learning, and review newly unlocked styles at the start of later tours.
Tenacious: recommended when crashes keep ending races
Tenacious starts with Autopilot installed and allows one extra crash per race. During startup, activate Autopilot first to automatically complete the other button sequences. Check that those sequences complete before the start.
Redliner: push speed after you can manage heat
A player favors Redliner for a Ramjet build because it strengthens redlining and enlarges that zone. The tradeoff is real: keep pushing without releasing and the Ramjet can explode. Learn to back off before treating this as your beginner setup. The Star Wars Galactic Racer best build page is the next place to compare a focused setup.
How should you use abilities and planetary routes?
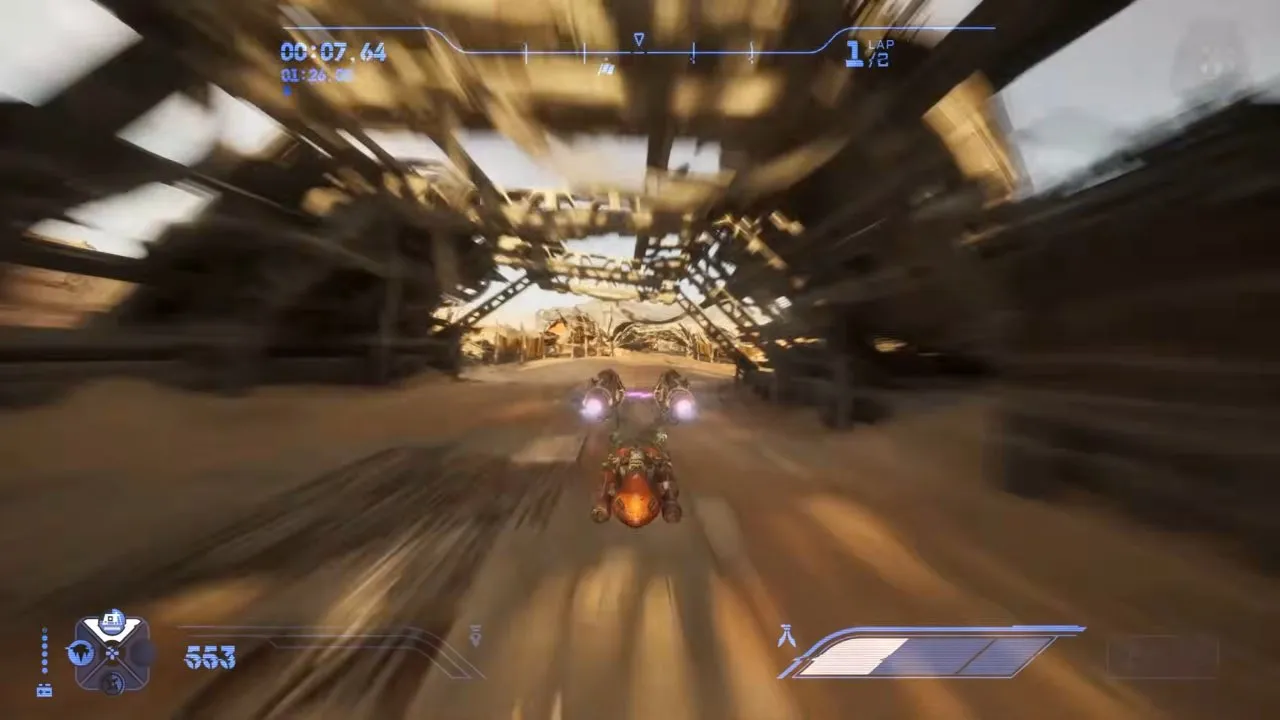
Use Autopilot before a twisting section you've struggled with, rather than waiting until you're already hitting the wall. You still control other abilities, including when to use Surge.
Advice differs here. A player on October 6, 2026 described Autopilot as preventing death and stopping crashes; another player's October 7, 2026 account says it can still crash. Use it as help, keep watching the road, and check that you clear the section. Nobody has confirmed that Autopilot is unlocked by default without choosing Tenacious.
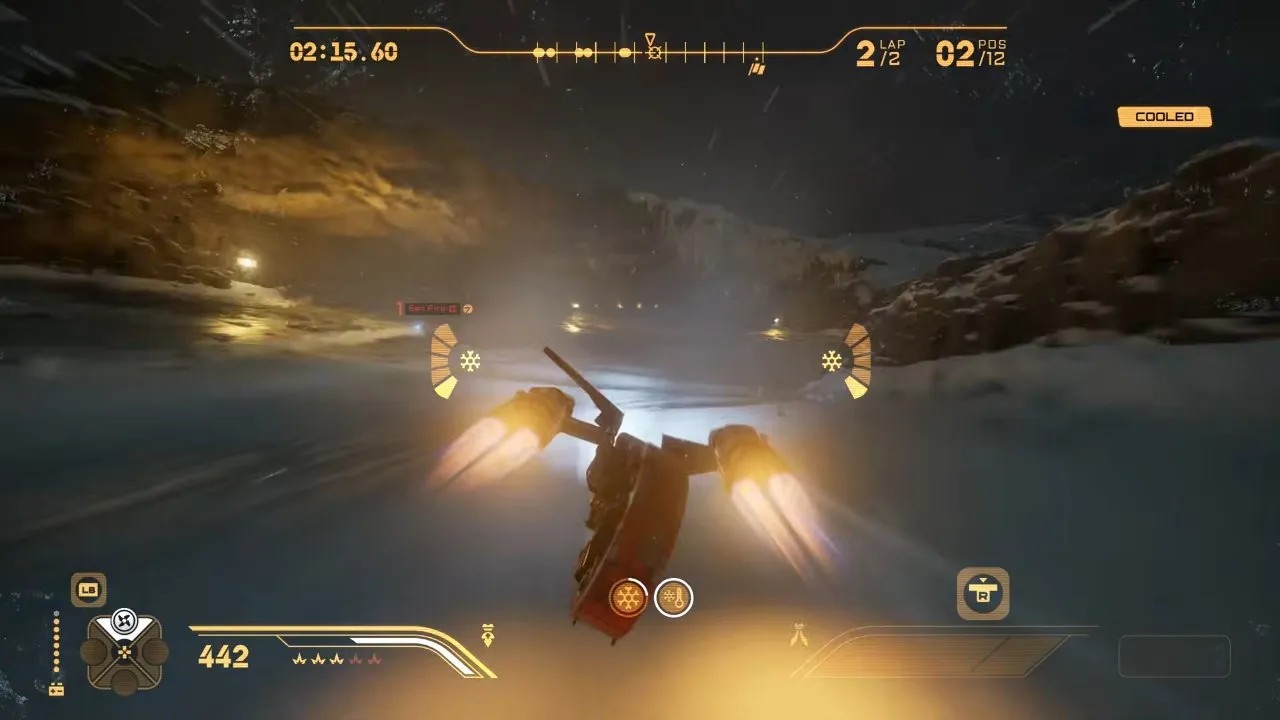
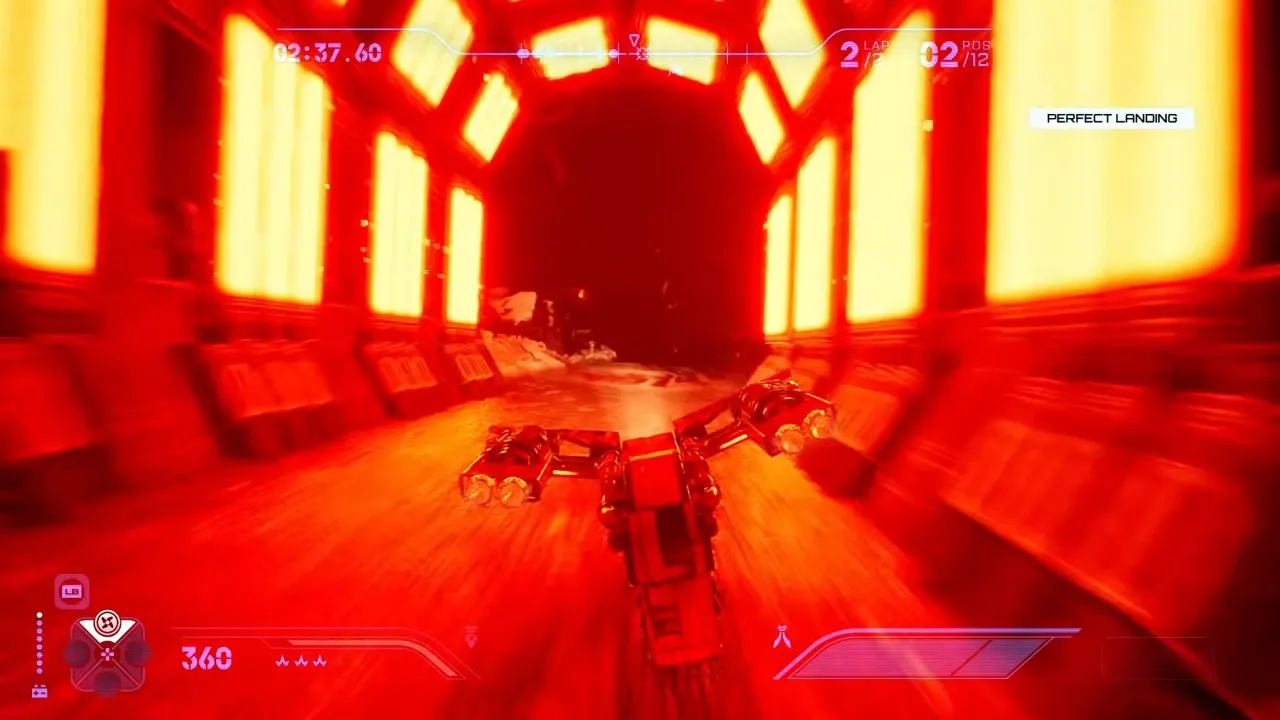
On Endor Prime, prolonged cold makes your vehicle freeze and slide around corners. Take a heat tunnel to counter that freezing, then watch your handling. The catch is that the tunnel also heats Ramjet faster and shortens how long you can use it. Don't hold boost as though the temperature hasn't changed.
On Jakku, shade helps you deal with overheating. A shaded route can cost time because it takes you away from the faster line. When heat is the problem, taking that detour is the steadier choice; check whether it helps control the heat before pushing again.
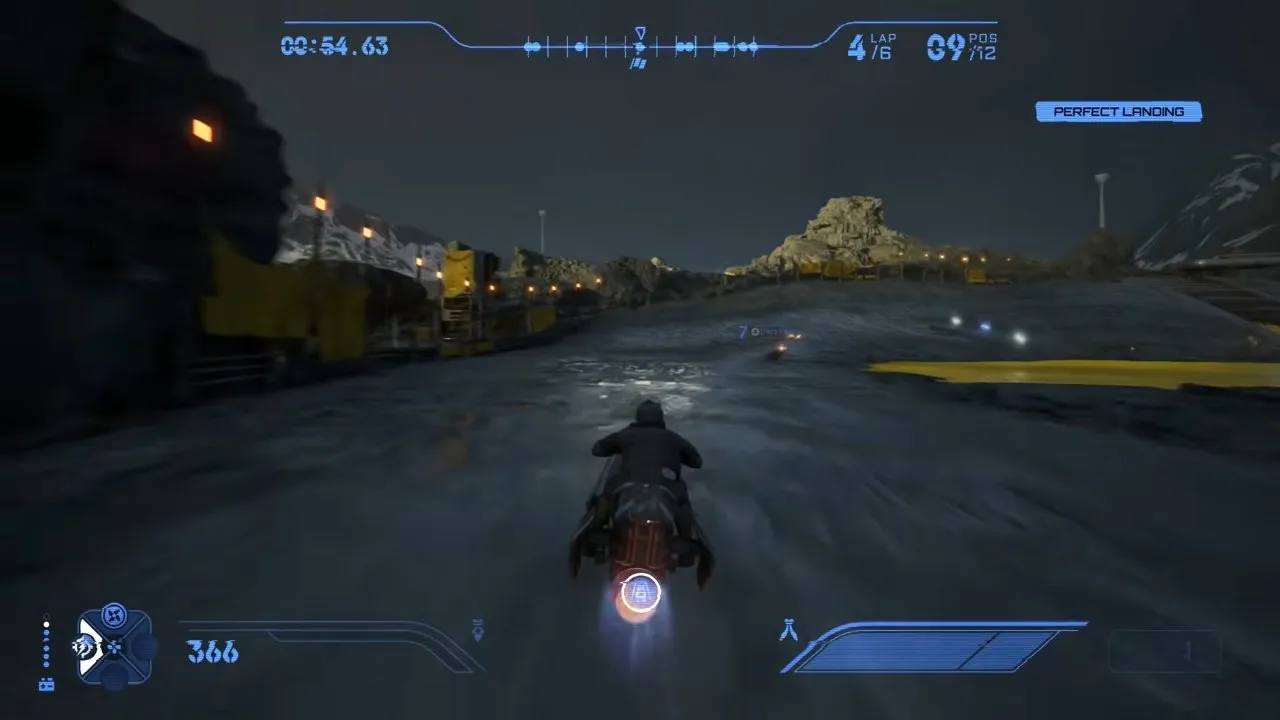
The bottom-left battery isn't just decoration. It represents the resource for using your abilities through the rest of the race. Use your abilities, but keep some capacity for later sections rather than spending everything at the start. Check that battery as you use them. Some players report forgetting abilities entirely while concentrating on boosting and drifting.
Which events are safest for your first run?
The tour map can look like a menu of independent activities. It's a branching route with limited connections: choosing an event commits you, and you can't go back. Before your first selection, trace the path to later events you want and check that the starting branch reaches them.
Regular races: recommended while learning
A poor finishing position alone doesn't eliminate you. Keep the vehicle alive and you can continue gaining unlocks. After the event, reaching the next tour choice is the useful success check, even if you didn't win.
Eliminators: choose only when you're confident
The last racer is periodically eliminated until three racers remain, then those three race to the finish. Elimination costs a League Token; using up all your crashes in a normal race also costs one. When all tokens are gone, you restart the tour.
Players differ on the risk. On October 6, 2026, one recommended eliminators for their strong rewards. On October 7, 2026, another advised avoiding them unless you're highly confident and winning other races. For your first tour, take the safer connected route when you can. If you do enter, watch your position: simply preserving the vehicle won't save you from elimination.
Arcade and Scenarios: practice before another tour
Arcade offers time trials and precision-driving challenges; Scenarios gives you events with specific goals. Use those to learn control before gambling another tour on a section you keep crashing through.
One small settings tip: a player reports hitting walls after takedown cutaway cameras returned control. If those cinematics break your concentration, disable them with the toggle at the bottom of Accessibility settings. You can check the result at your next takedown: the cutaway should no longer interrupt your view.
With startup preparation, repaired parts, and a route you can survive, you're ready to make the first tour useful even without winning every race. A restart carries over only certain perks and unlocks, so don't expect your whole setup to survive it. Continue with the Star Wars Galactic Racer runs guide to understand progression, or the Star Wars Galactic Racer campaign guide when you're ready to plan the next tour.